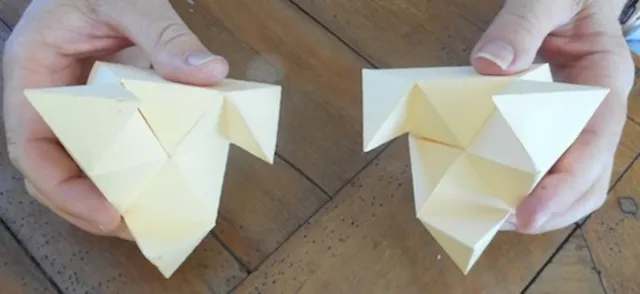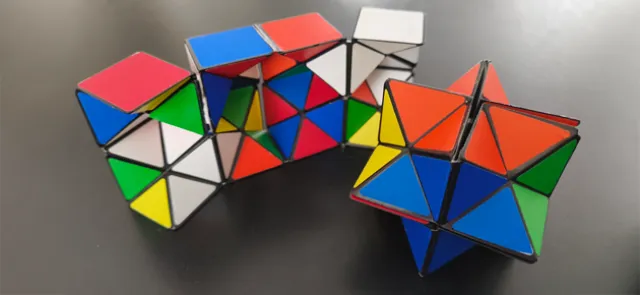




The cube below consists of four parts (four "slices"): two middle slices and two "corners". A base completes the construction.
To assemble it, download (or reproduce) and cut out the pieces, then fit them together by following the instructions below. The pieces use five colors: three for the faces of the cube, one for the inner faces separating the slices, and one for the base.
Make three copies of the pieces in the file Patron1.pdf, each in a different color.
Print one copy of the pieces in **Patron2.pdf **.
The net for the base is provided in the file **Patron3.pdf**
All the tabs have been drawn with a 5° taper to make assembly easier.
(Users of cutting machines should see the box.)
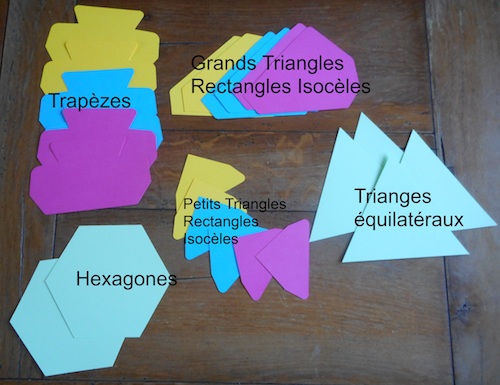
The sliced cube is assembled in three stages:
· Assembling the two "corners"
· Assembling the two middle slices
· Assembling the base
Stage 1: assembling the two "corners"
=======================================
For each corner, you will need
\- 3 large isosceles right triangles in different colors, cut out using the template provided in the file **Patron1.pdf**
\- 1 equilateral triangle, cut out using the template provided in the file **Patron2.pdf**
Score the folds of the tabs, then glue the three large isosceles right triangles together along their short sides.
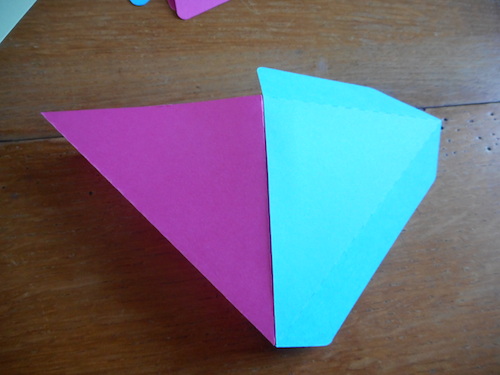
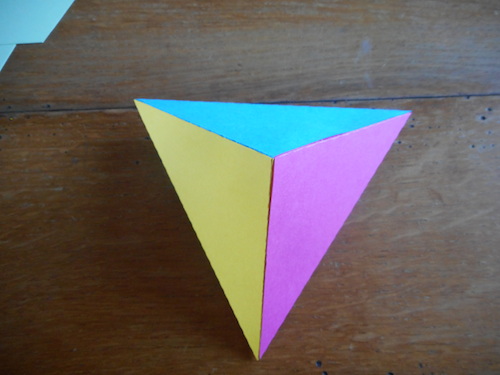
Complete the resulting pyramid by gluing on the equilateral triangle.
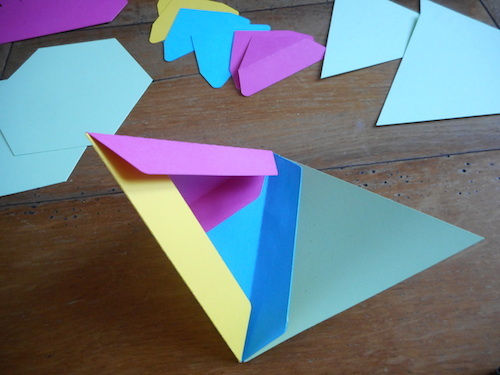
Next, construct the second corner as the mirror image of the first. The two corners are said to be enantiomorphic: the colors appear in reverse order.
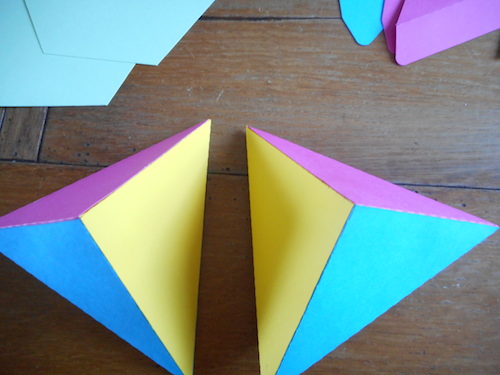
Stage 2: assembling the cube's two inner slices
================================================
For each one, you will need:
\- 1 equilateral triangle, cut out using the template provided in the file **Patron2.pdf**
\- 3 trapezoids (in different colors), cut out using the template provided in the file **Patron1.pdf**
\- 3 small isosceles right triangles (in different colors), cut out using the template provided in the file **Patron1.pdf**
\- 1 hexagon, cut out using the template provided in the file **Patron2.pdf**
Assemble the pieces, paying close attention to the arrangement of the colors: when a corner and its corresponding inner slice are placed on top of each other, the colors on the sides of the cube must match.
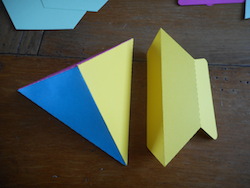

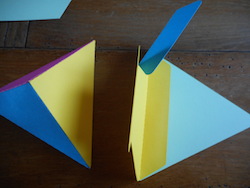

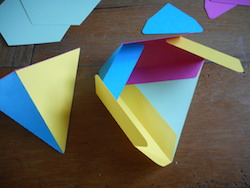

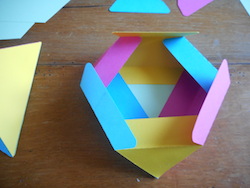

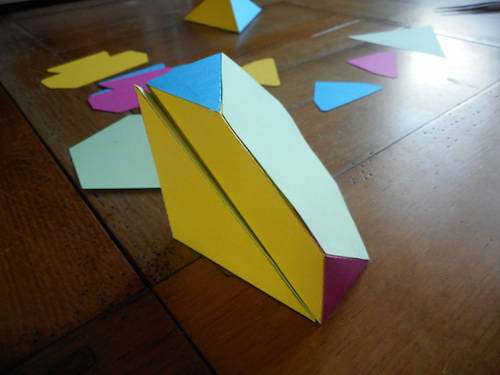
Next, tackle the second inner slice, which is enantiomorphic to the first. You can therefore use the second corner as a guide to identify where the colors go.
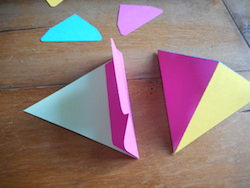

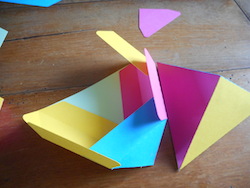

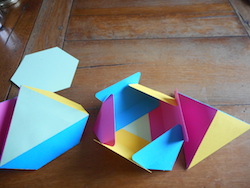

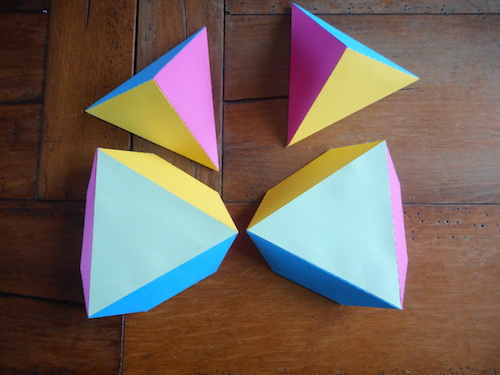
Stage 3: assembling the base
============================
The base is half a cuboctahedron. Its net is provided in the downloadable file **Patron3.pdf**.
Begin by cutting out the net and scoring the folds.
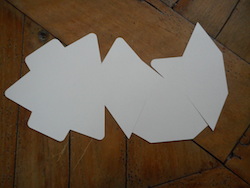

Glue the three isosceles right triangles together. The resulting hollow is where the cube will sit! Then assemble the squares and triangles in a ring around the "hollow".
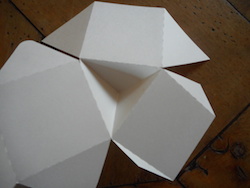
The half-cuboctahedron is ready to support the sliced cube.